A quick little article for what was involved in putting together the Cut-Out Animation project!
Inspiration
First came the brain-storming. When my professor named the project “Cut-Out Animation”, I knew exactly what I wanted to do, and that was use watercolor abstract collages in the style of Eric Carle and make them move across the page.
The choice of characters and soundtrack then came from an old in-joke between my brother and I, where a certain movement of George Gershwin’s “America in Paris” sounded like Kevaar trying to walk around with a bucket stuck on one foot. When I looked through available recordings of this symphony, I couldn’t find one with the same quirkiness as the version we remembered from our childhood; most of the takes were smoother and more romantic. The one I finally ended up with spawned slightly different imagery, that of Kevaar meeting his romantic crush, Kemekien, for the first time.
Storyboarding
After clipping down to the section of music that I wanted, I listened to the piece several times until I had some pretty firm images in my head for a storyboard. These I sketched and then timed to the music using my usual paint program and Adobe software.
The black background and zoomed in images is an artifact of porting the images from my paint program into Adobe Photoshop, and since this video was only to serve for my cue-ing when I moved on to Adobe After Effects, I didn’t bother fixing it.
Making the Watercolor Bases
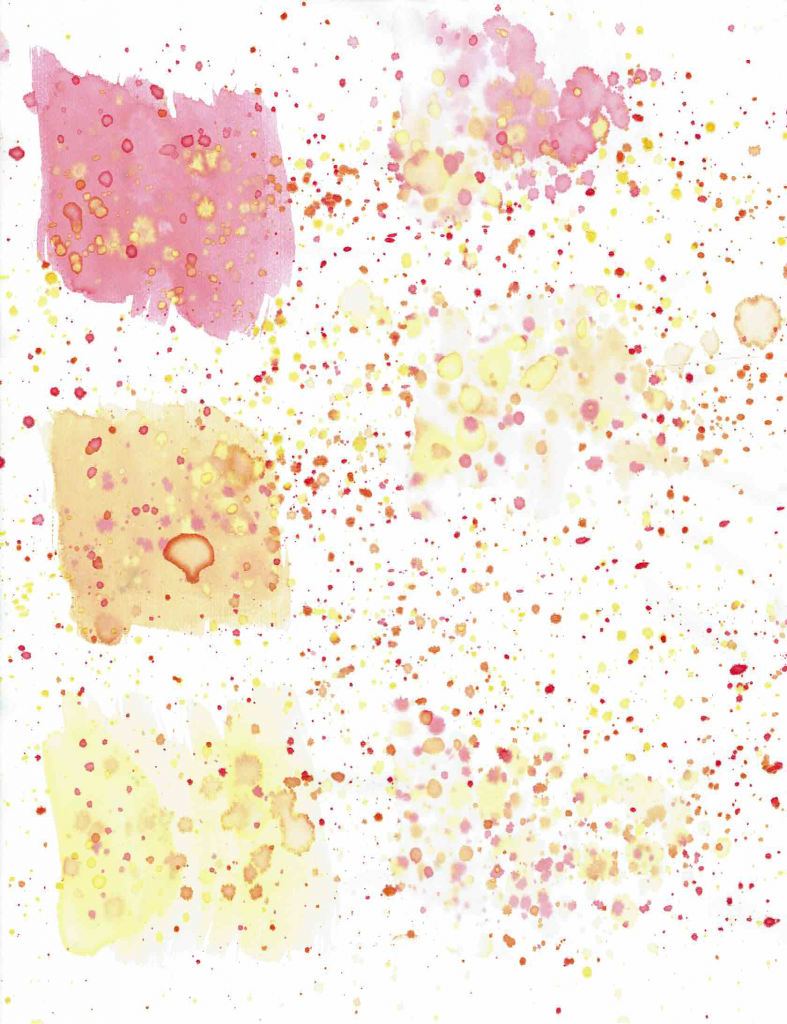
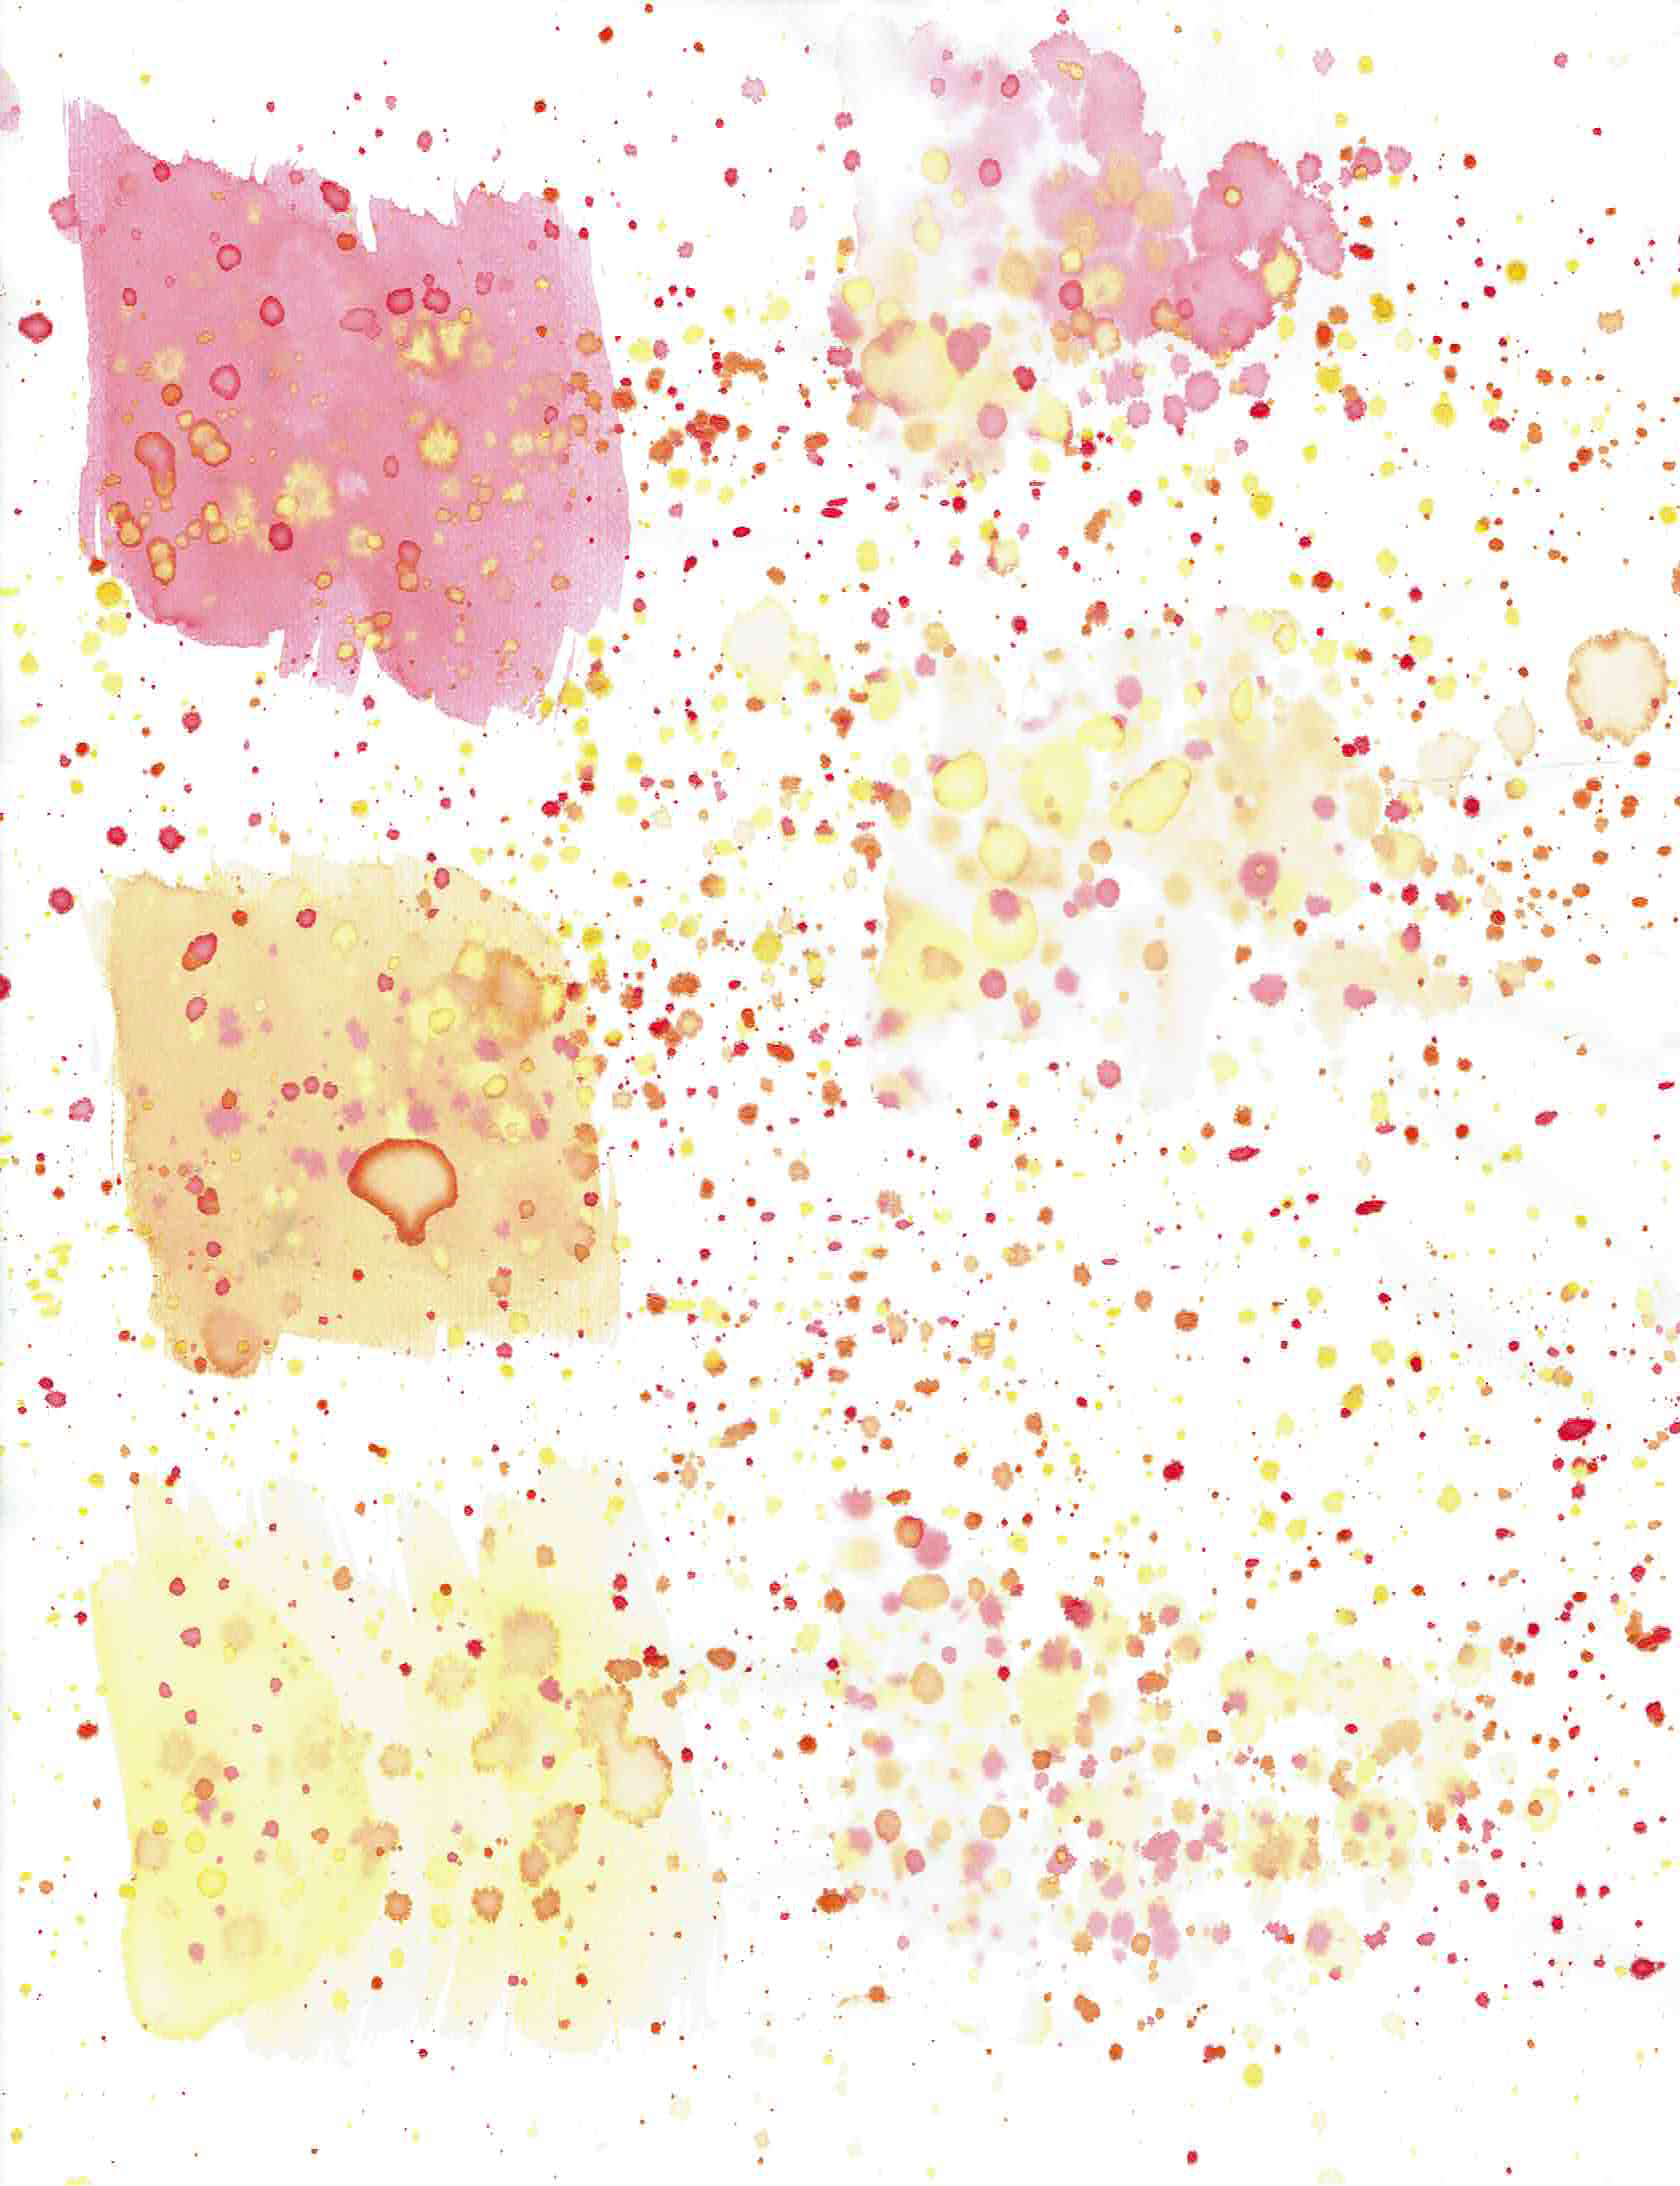
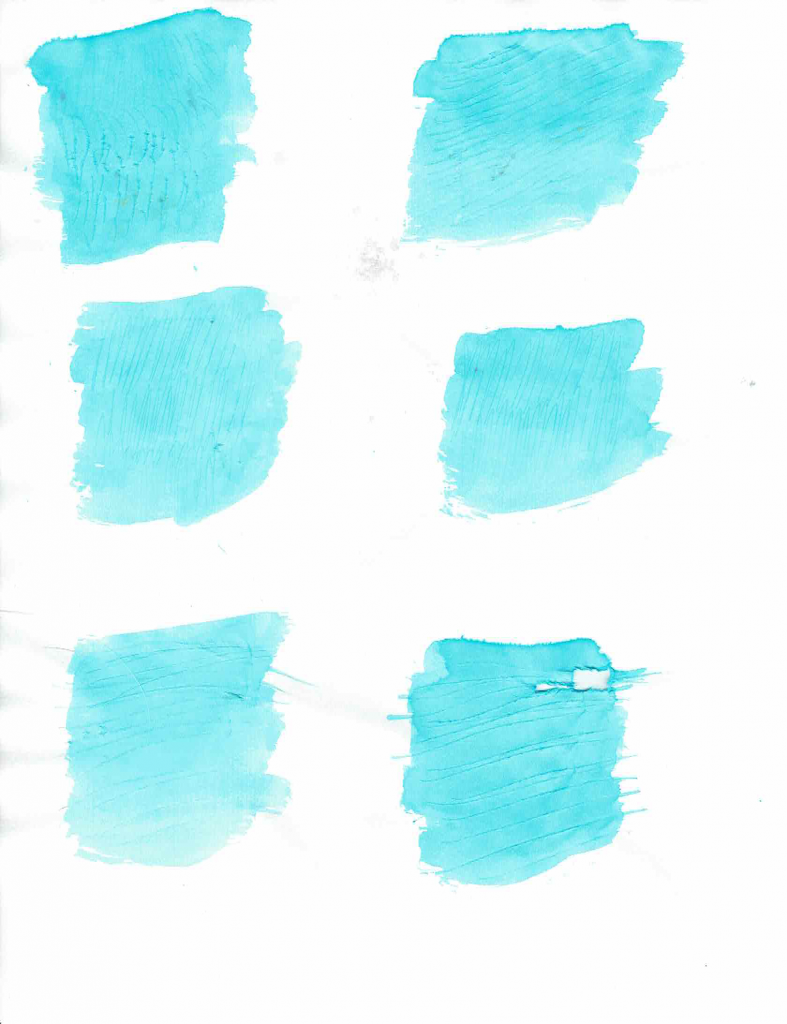
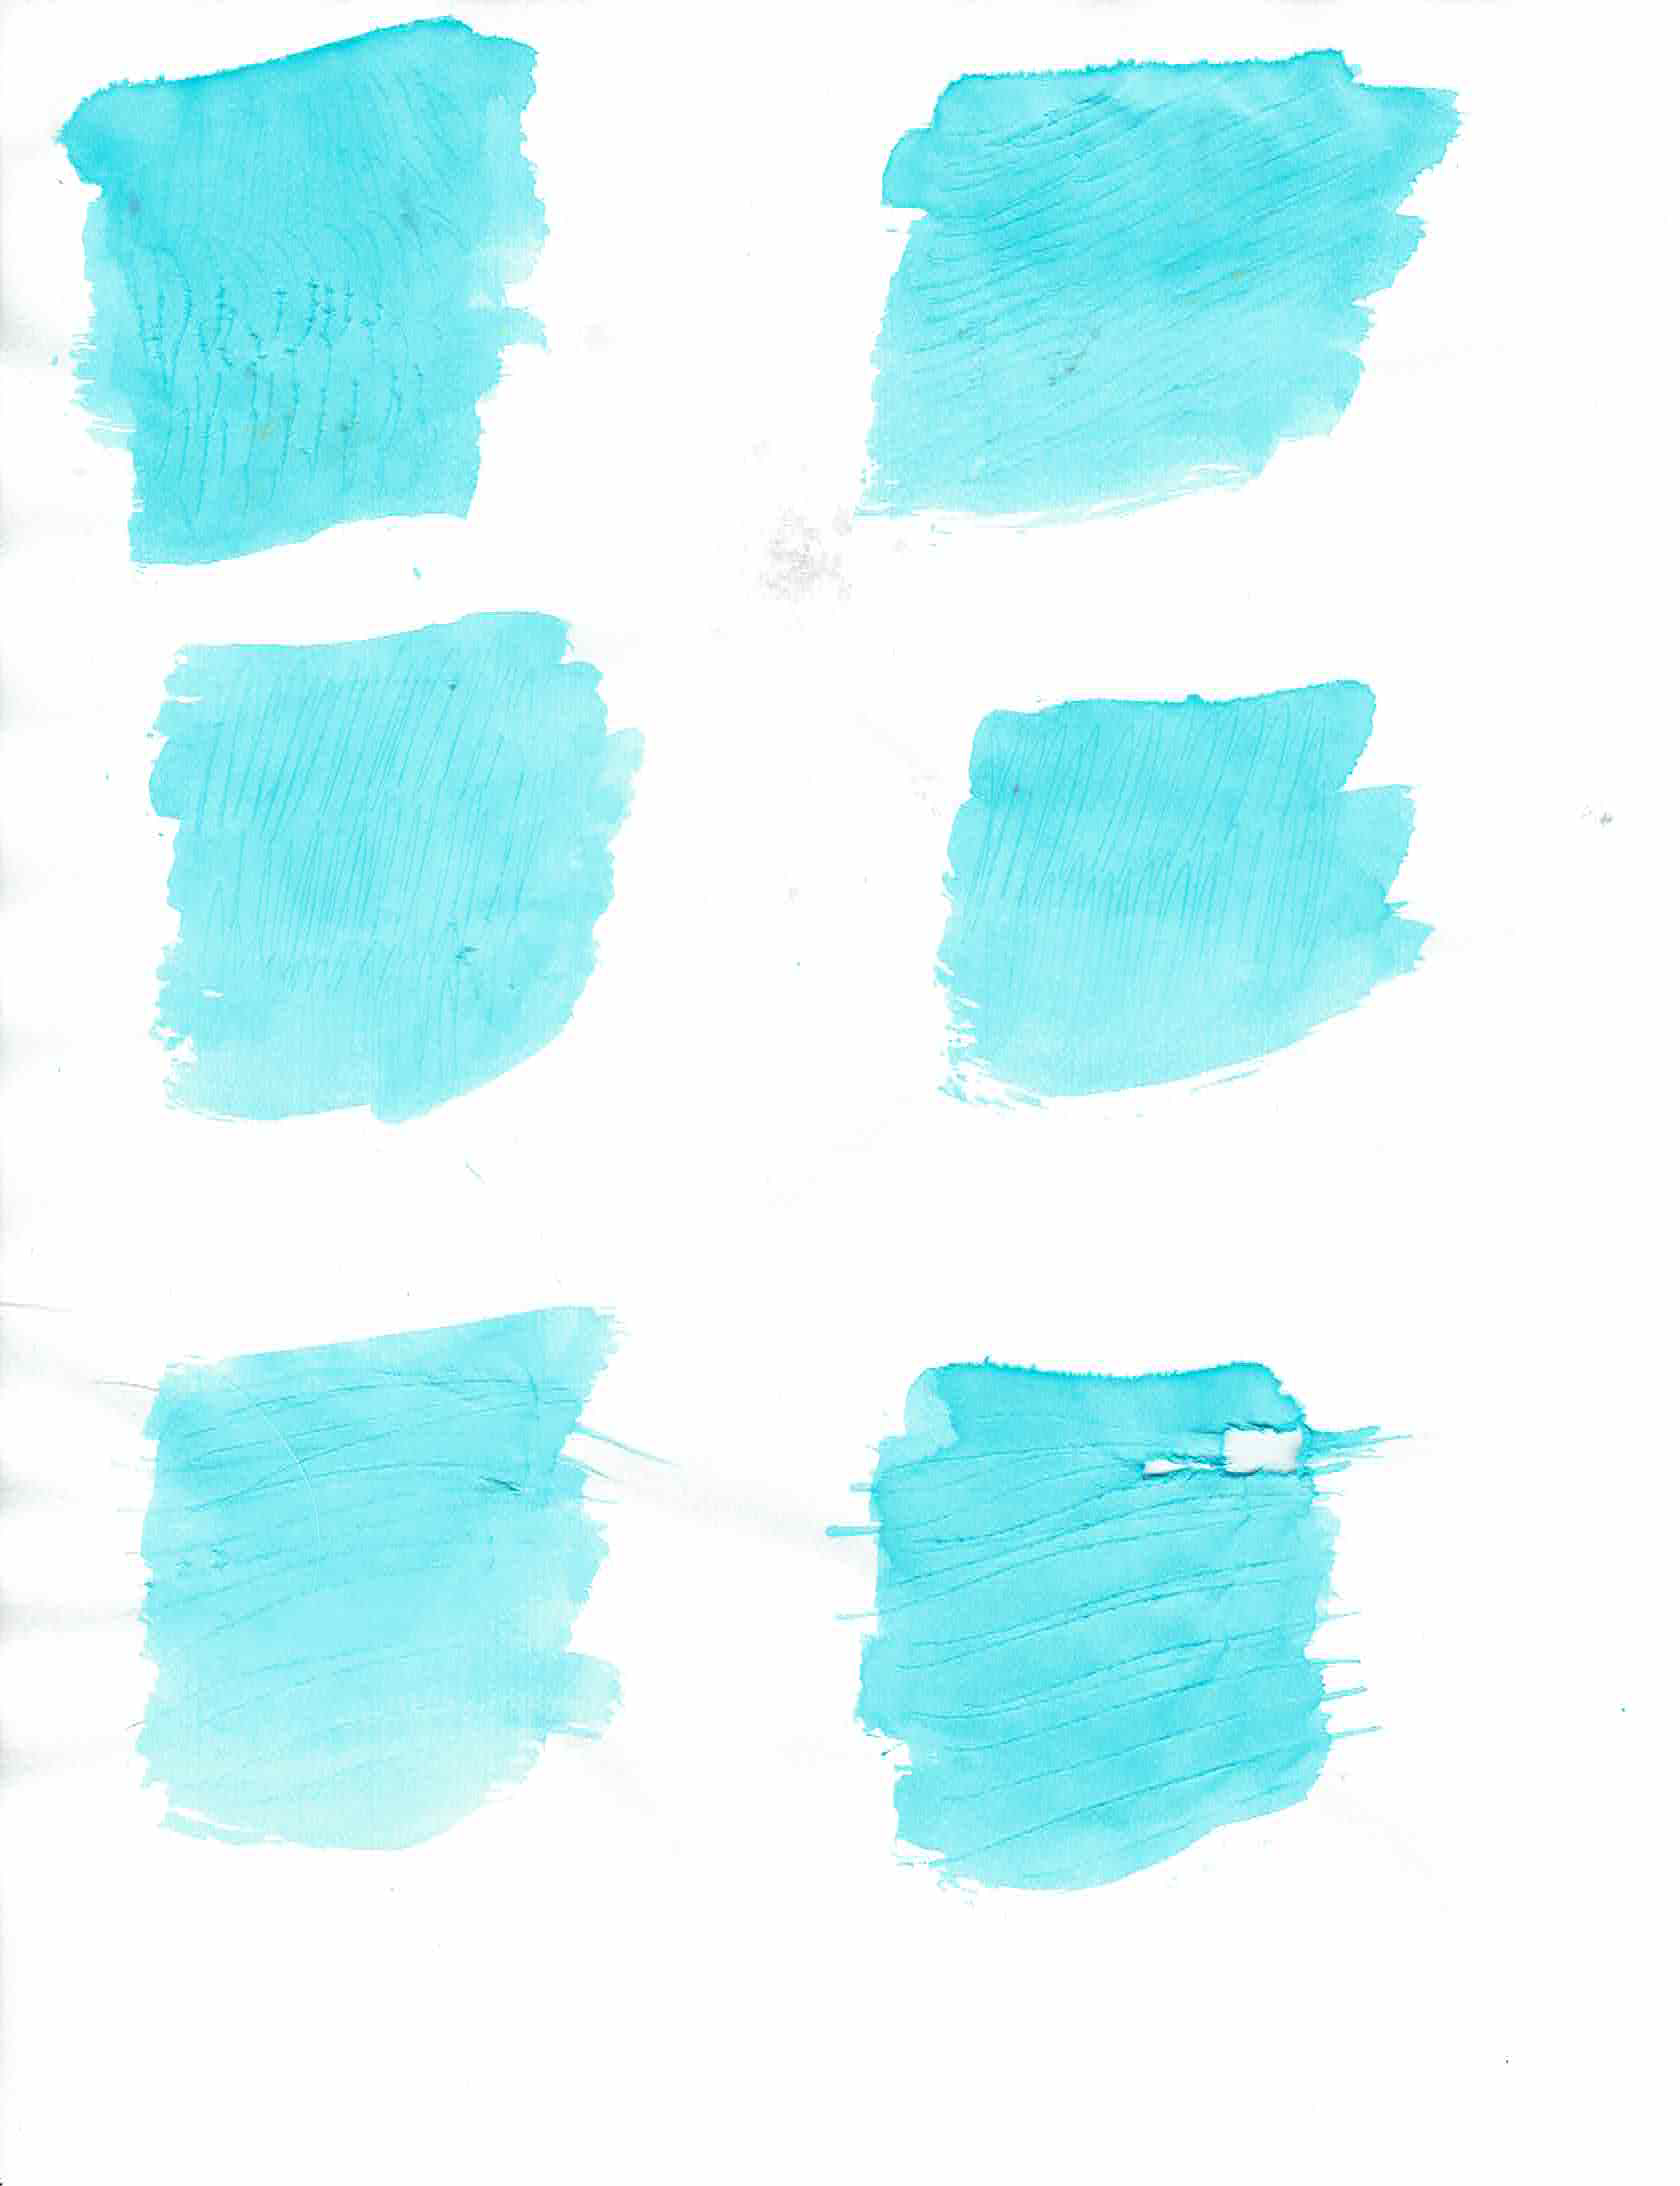
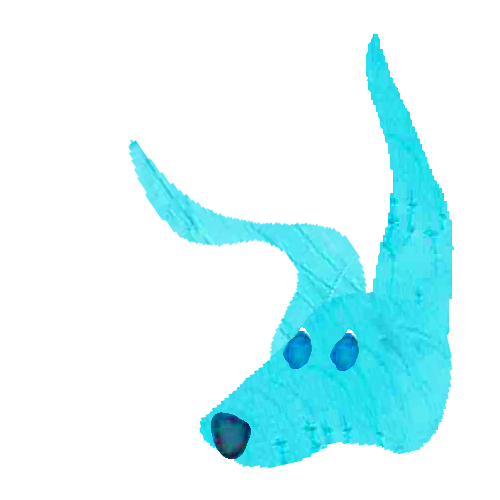
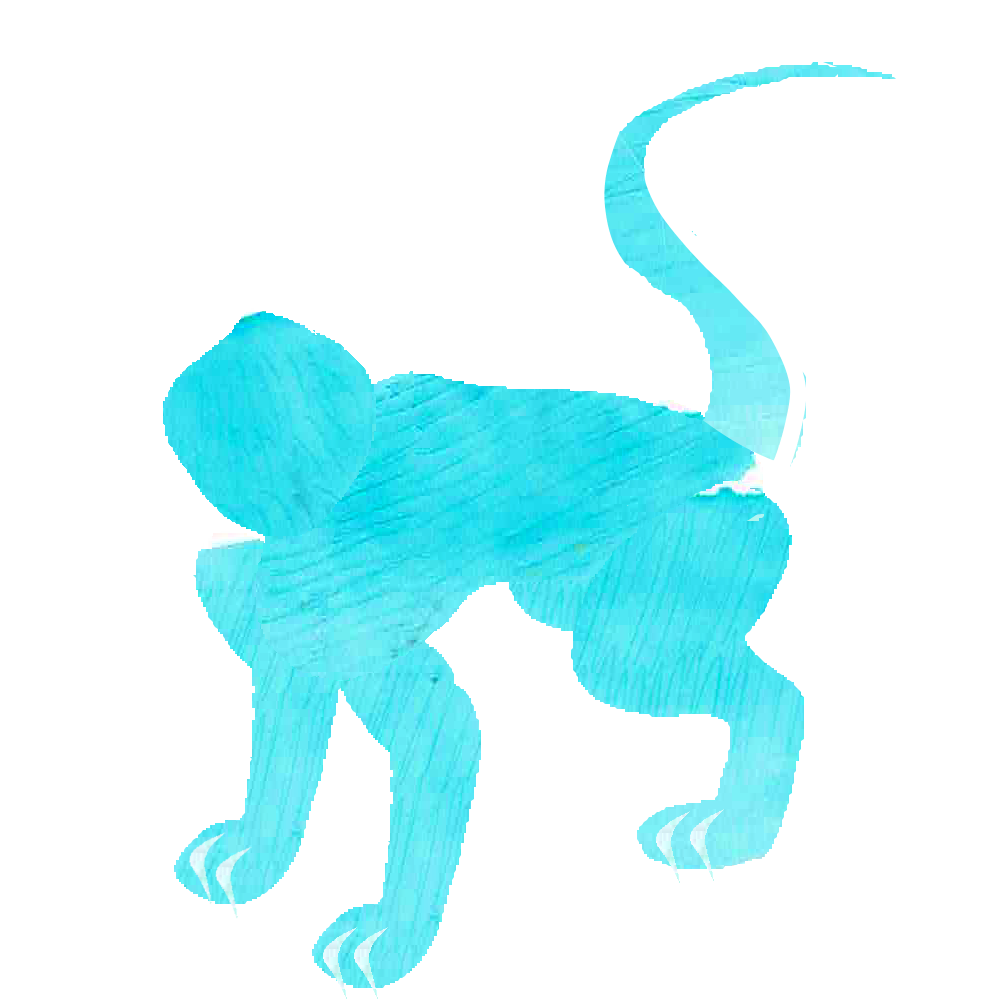
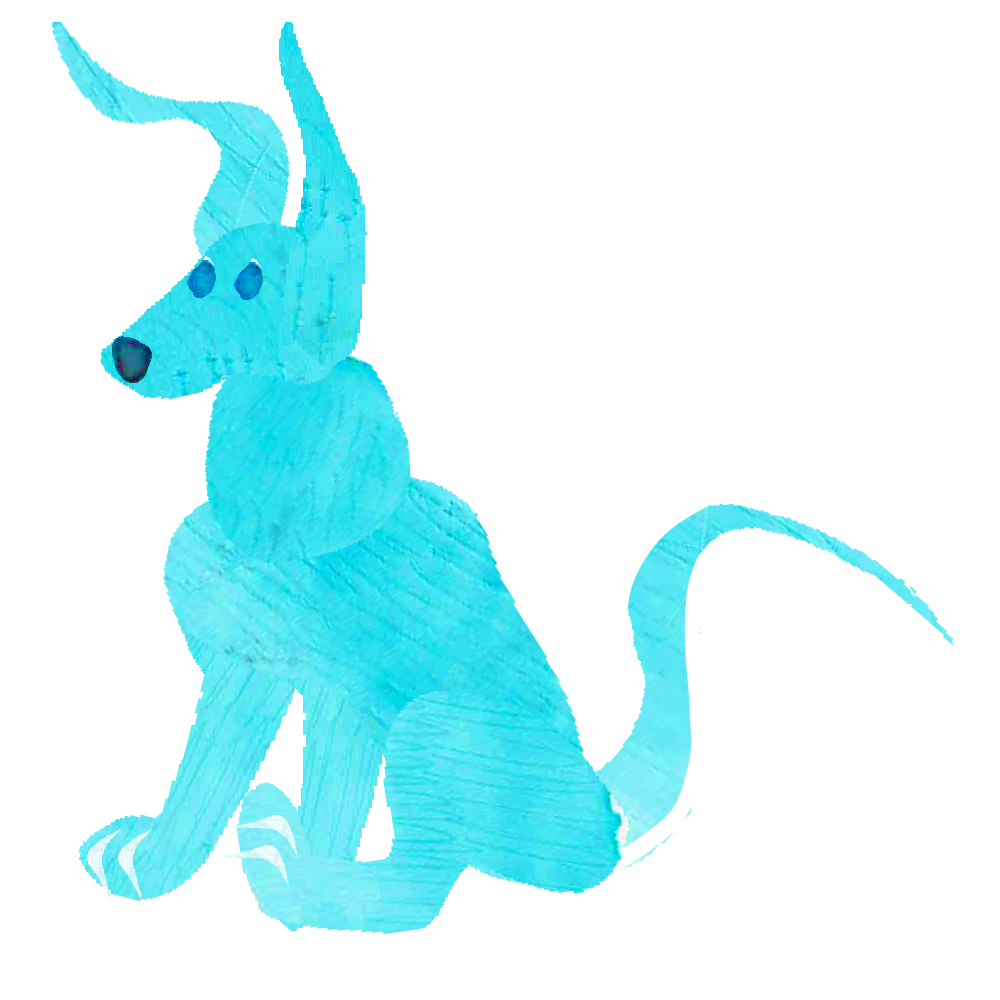
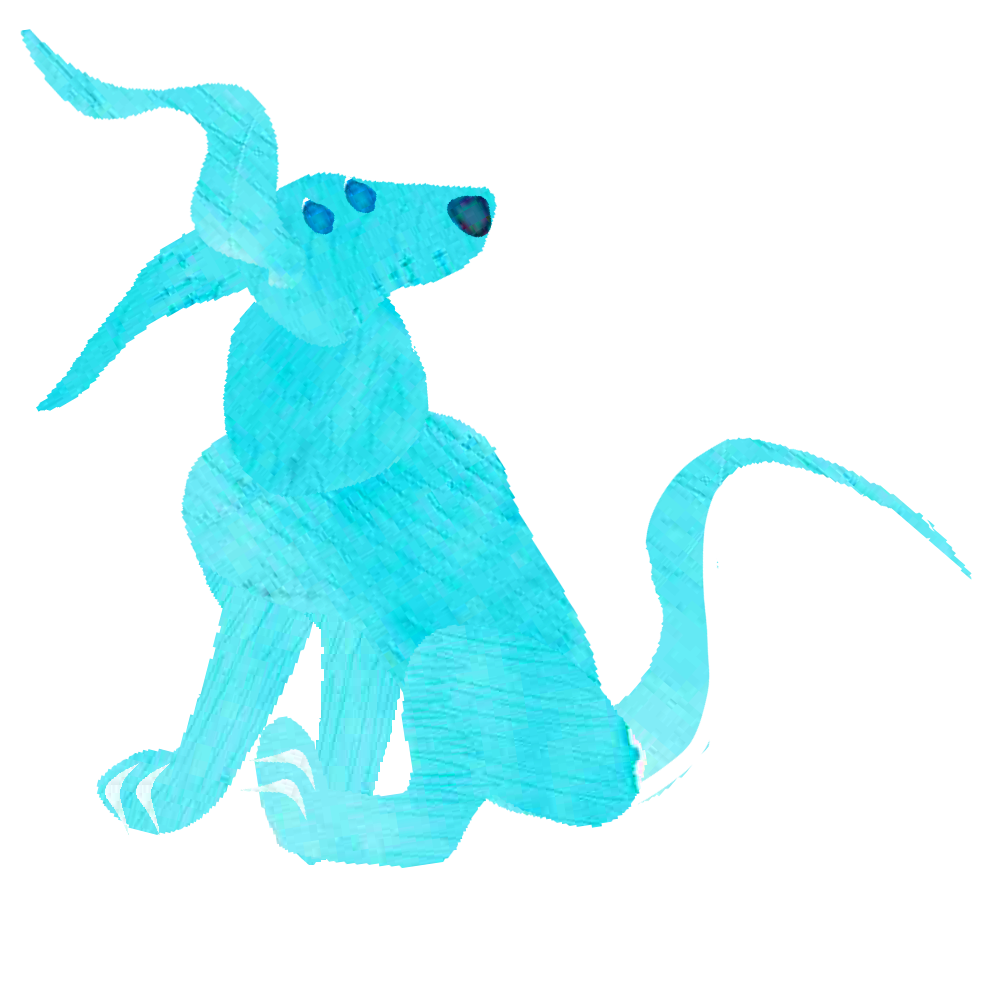
Next came creating the watercolor blobs that I’d use for my characters, seen below:


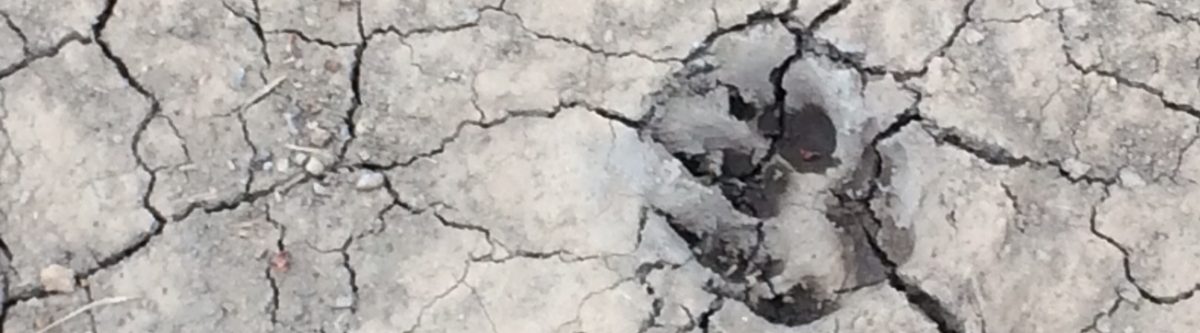
The first two sets of watercolor blobs were created by getting my brush moderately wet and then smacking it over my finger so that the paint splattered all over the page. (Very messy, make sure you have newspaper down!) The third set, used in Kemekien’s wings in the final project, was made by scattering salt over the watercolor before it was dried. The last set was made by reversing my brush and scribbling away with the hard tip to create lines that would remain after the paint dried, to create the impression of fur. As you can see, I got a little over zealous with my scribbling and ripped the paper at one point.
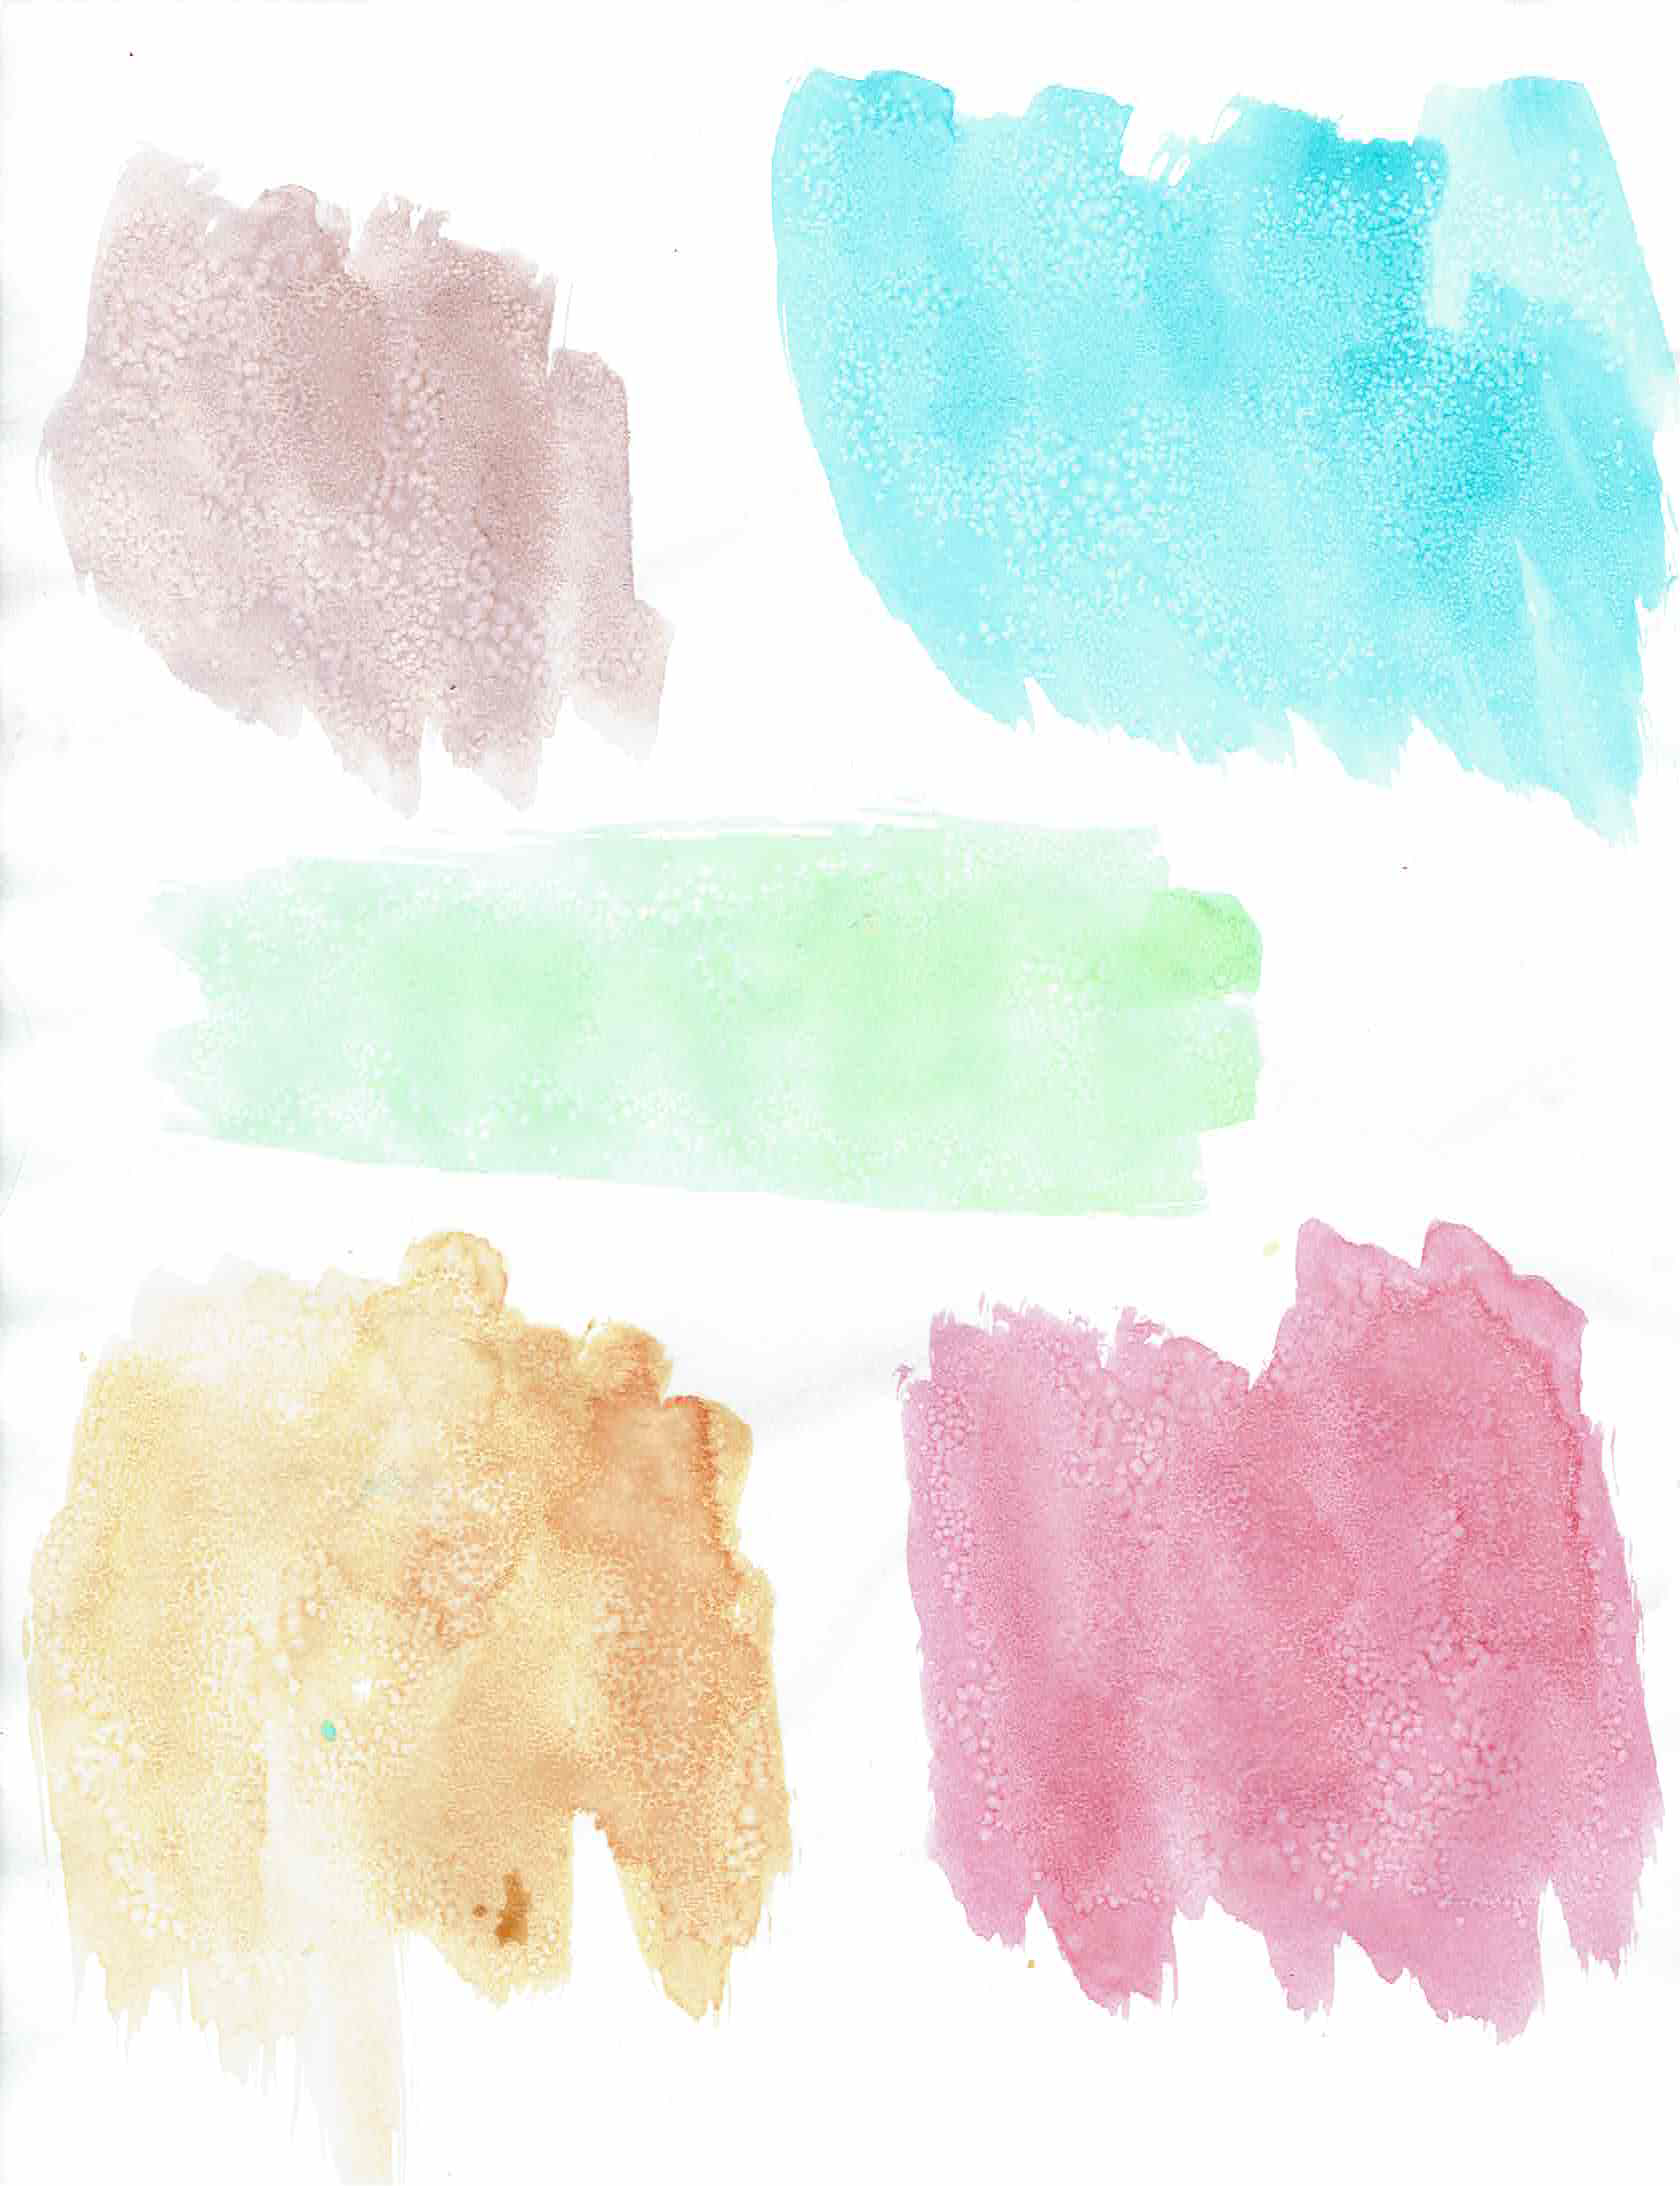
Next came what I would use for my background. My first attempt looked like this:
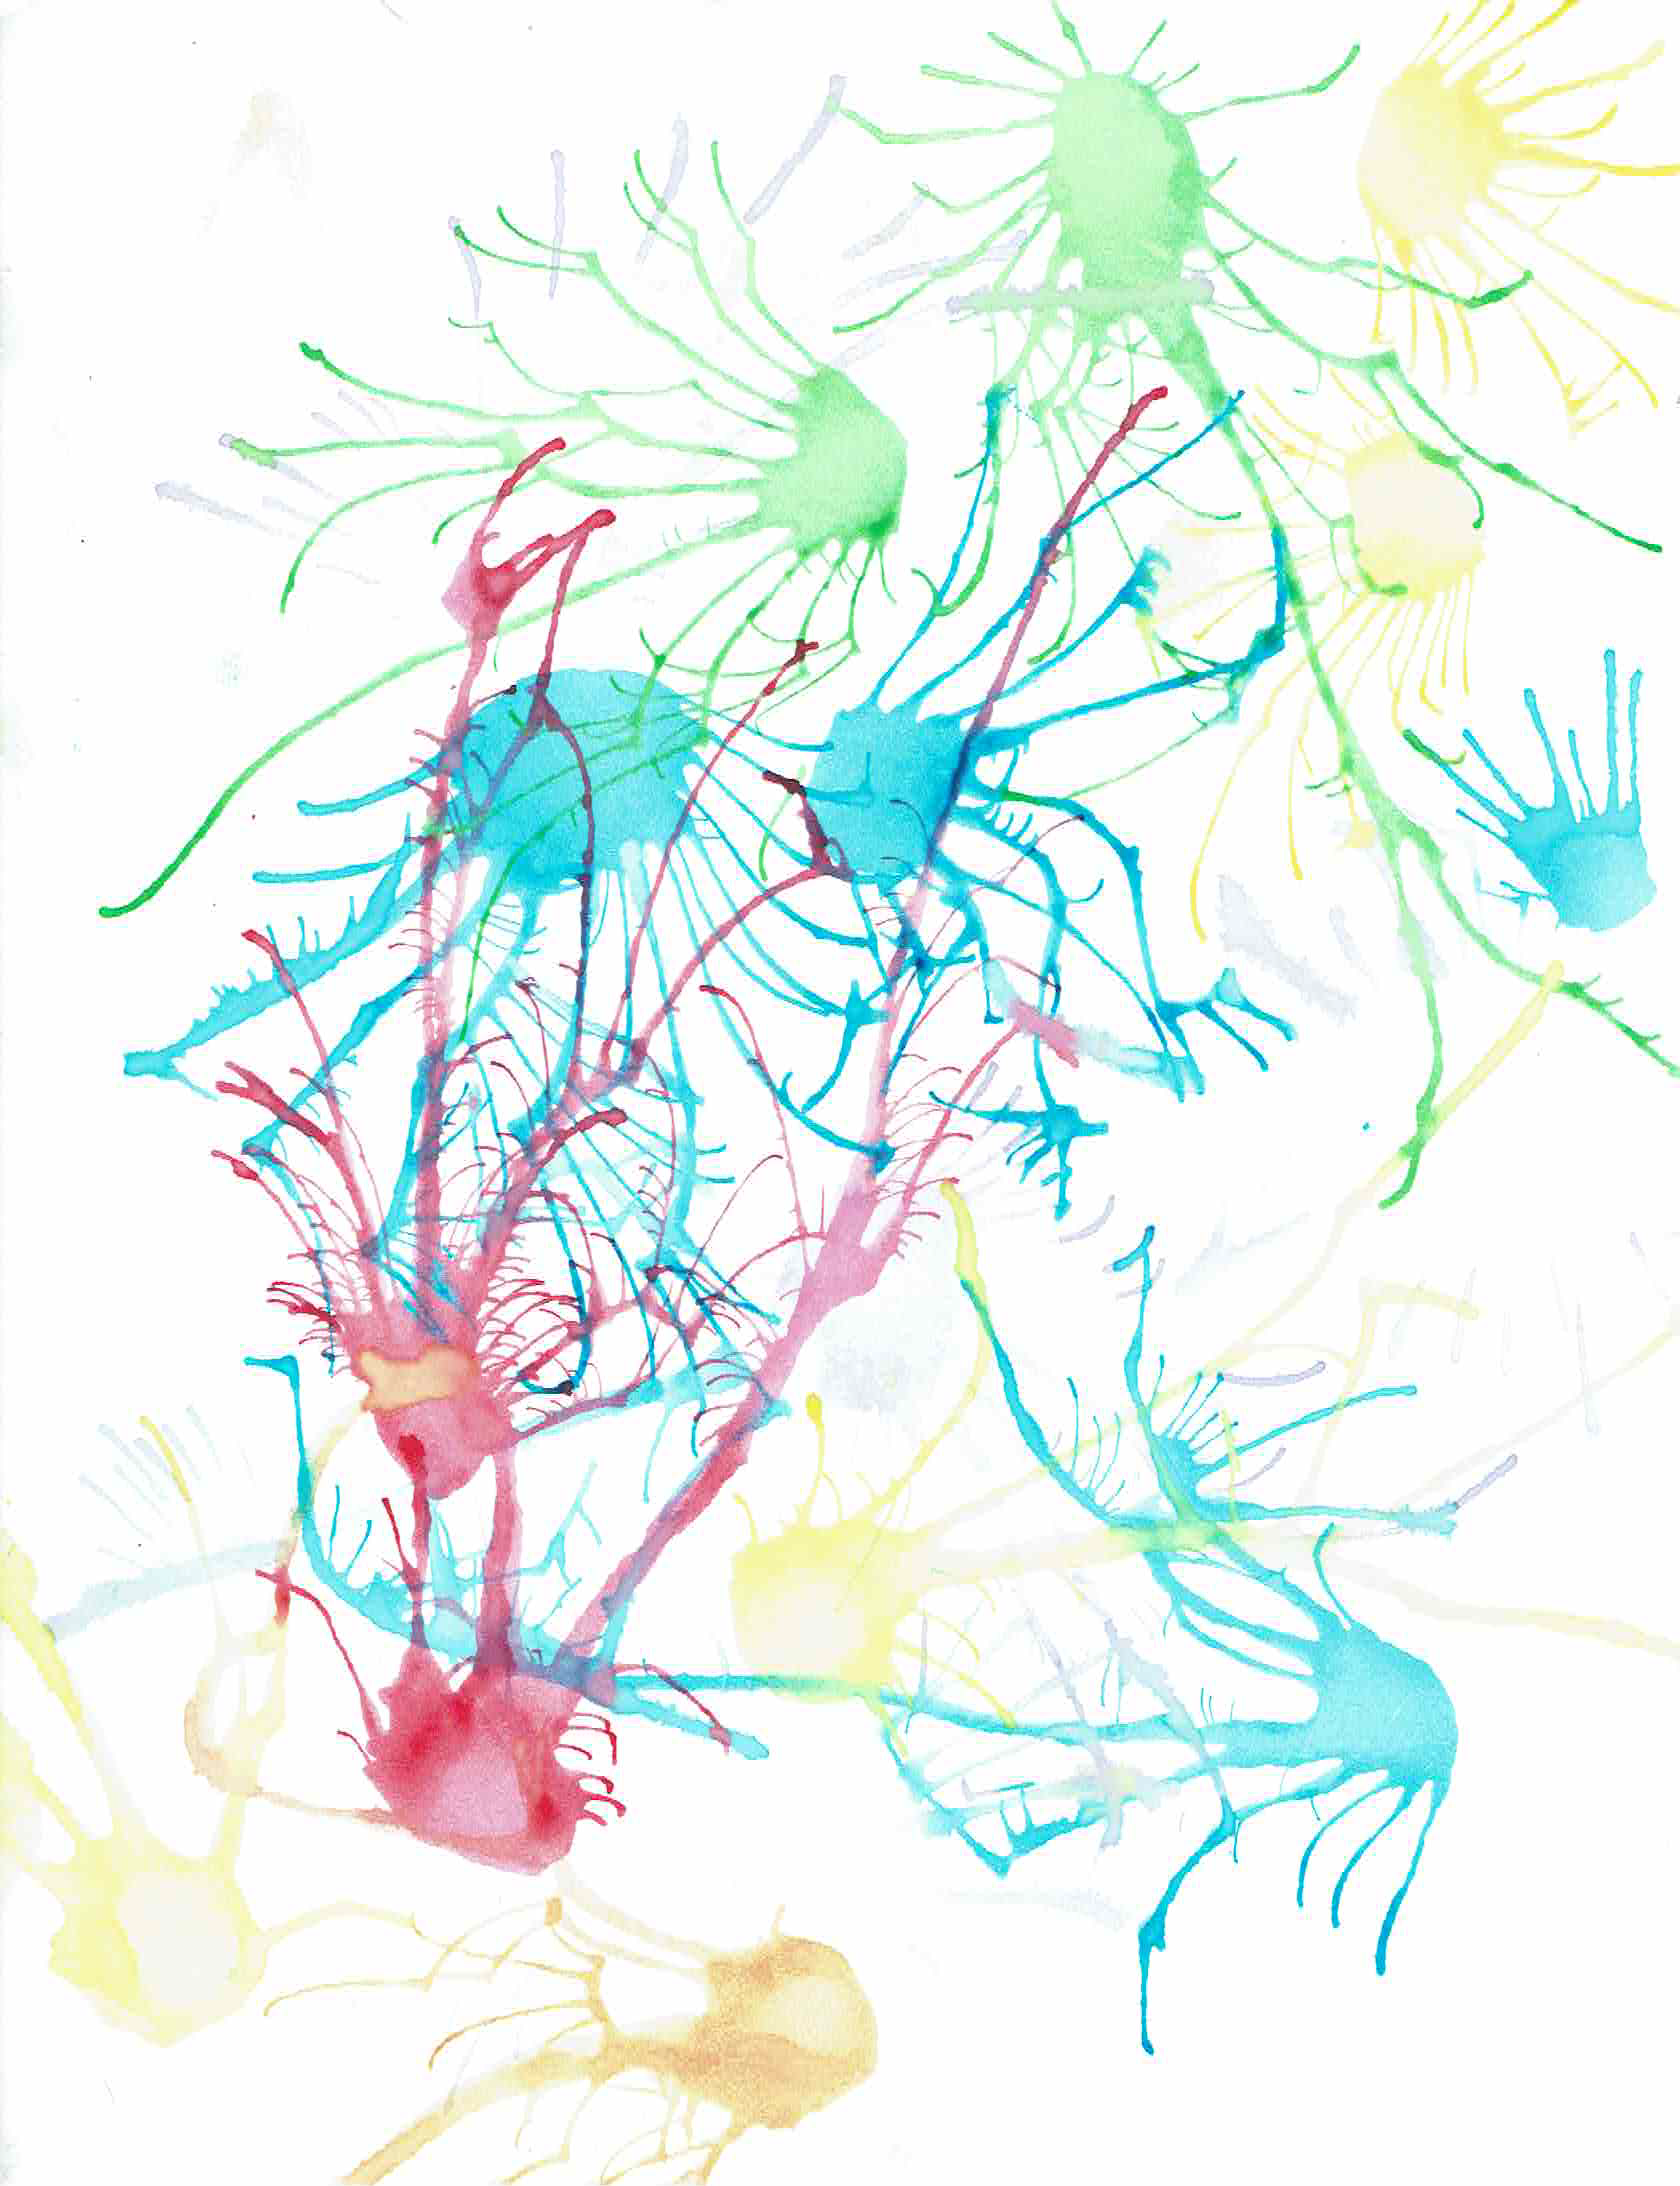
This was created by making wet circles of watercolor and then blowing on them so the paint skedaddled across the page. I’d recommend doing this with a blow-dryer: I just used my own breath and almost hyper-ventilated a couple times!
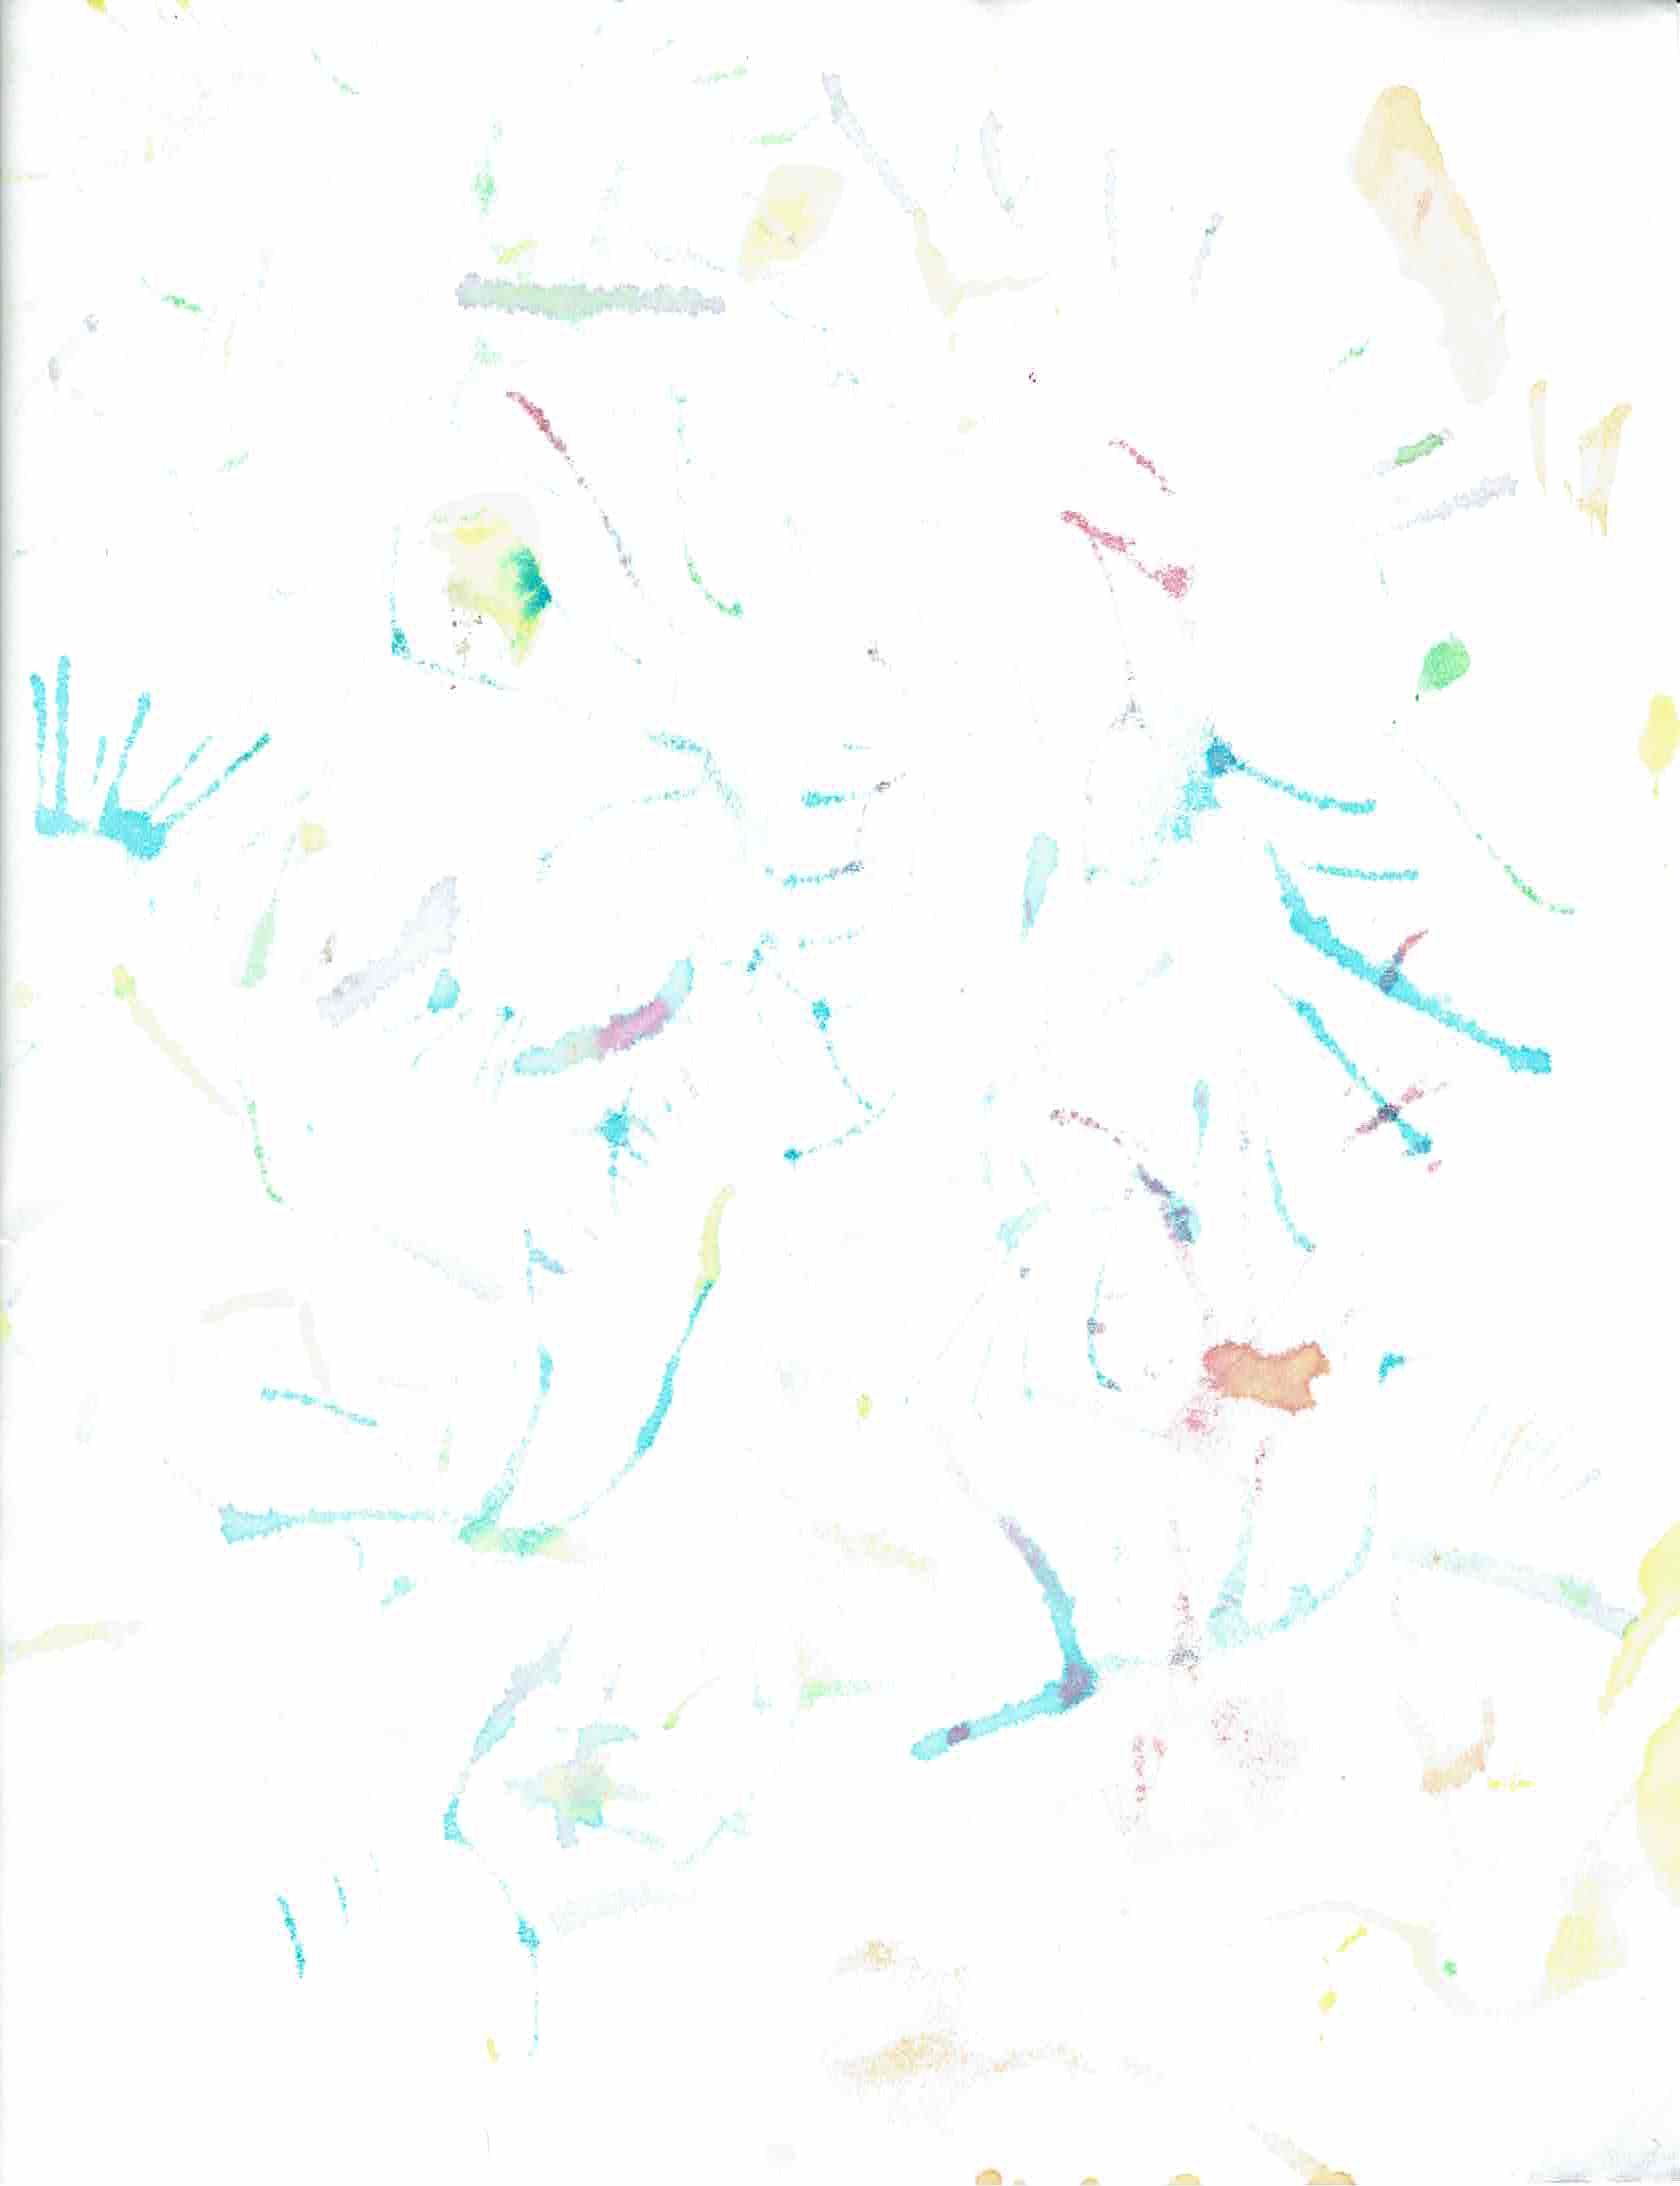
Unfortunately, though pretty, this background was too noisy and bright, making my characters hard to pick out against it. I had a happy accident though when I turned the painting over and discovered the paint had bled through the paper. (I was using normal computer paper: low budget production, this!) It became my background without any further editing at all.
Creating the Characters
After scanning all my watercolor blobs into the computer, it was time to move on to creating the characters. Though I admit this would have looked better by doing each individual body part by itself (so each could be animated separately), I was a combination of lazy and pressed for time, and instead made full characters, just in different poses.
Putting It All Together
The final step involved importing these characters, the music clip, and a few extra recorded sounds into Adobe After Effects and tying them all together. After Effects has a lot of features which I barely touched, but its strength is in moving and distorting flat images for use in animation, taking care of all the “tweening” for you so you don’t have to do it yourself frame-by-frame. Even though the images themselves don’t change, you can infer a variety of body language with this technique, such as Kevaar’s sigh about halfway through the final project. This was created by stretching Kevaar vertically for a half-second and then returning him to his original dimensions in the next.
And that’s it! A lot of groundwork, but relatively simple once you get down to it. You can check out the final project here: Cut-Out Animation